
How to Add Your Business to Apple Maps
To add your business to Apple Maps, search for the location first, then add or claim it through Apple Business, the current home of Apple Business Connect. Enter the real location details and complete the verification steps shown.
If you already see the correct place in Maps, use the claim guide rather than creating another listing.
What are you adding to Apple Maps?
You are adding a physical location and the place card customers can open for it. The card helps someone check information such as the address, hours, and website.
For example, a customer looking up a repair shop should be able to identify the correct premises before travelling.
Your organization, brand, and physical location are related but different records. A company can have a brand and several locations. Use the relevant branch details when adding a place.
What do you need before starting?
Prepare your business name, official address, category, phone number, normal hours, website, and any evidence requested for verification.
Use access the business can maintain. If an agency helps, agree who controls the organization and how the business will retain management access.
For example, a multi-branch retailer should know which branch the phone number and hours belong to. Copying another branch’s details creates work to correct later.
Current instructions use Apple Business. Existing Business Connect users should follow the sign-in prompts for their existing organization. New users should follow Apple’s organization setup process.
1. Search for the business and correct branch
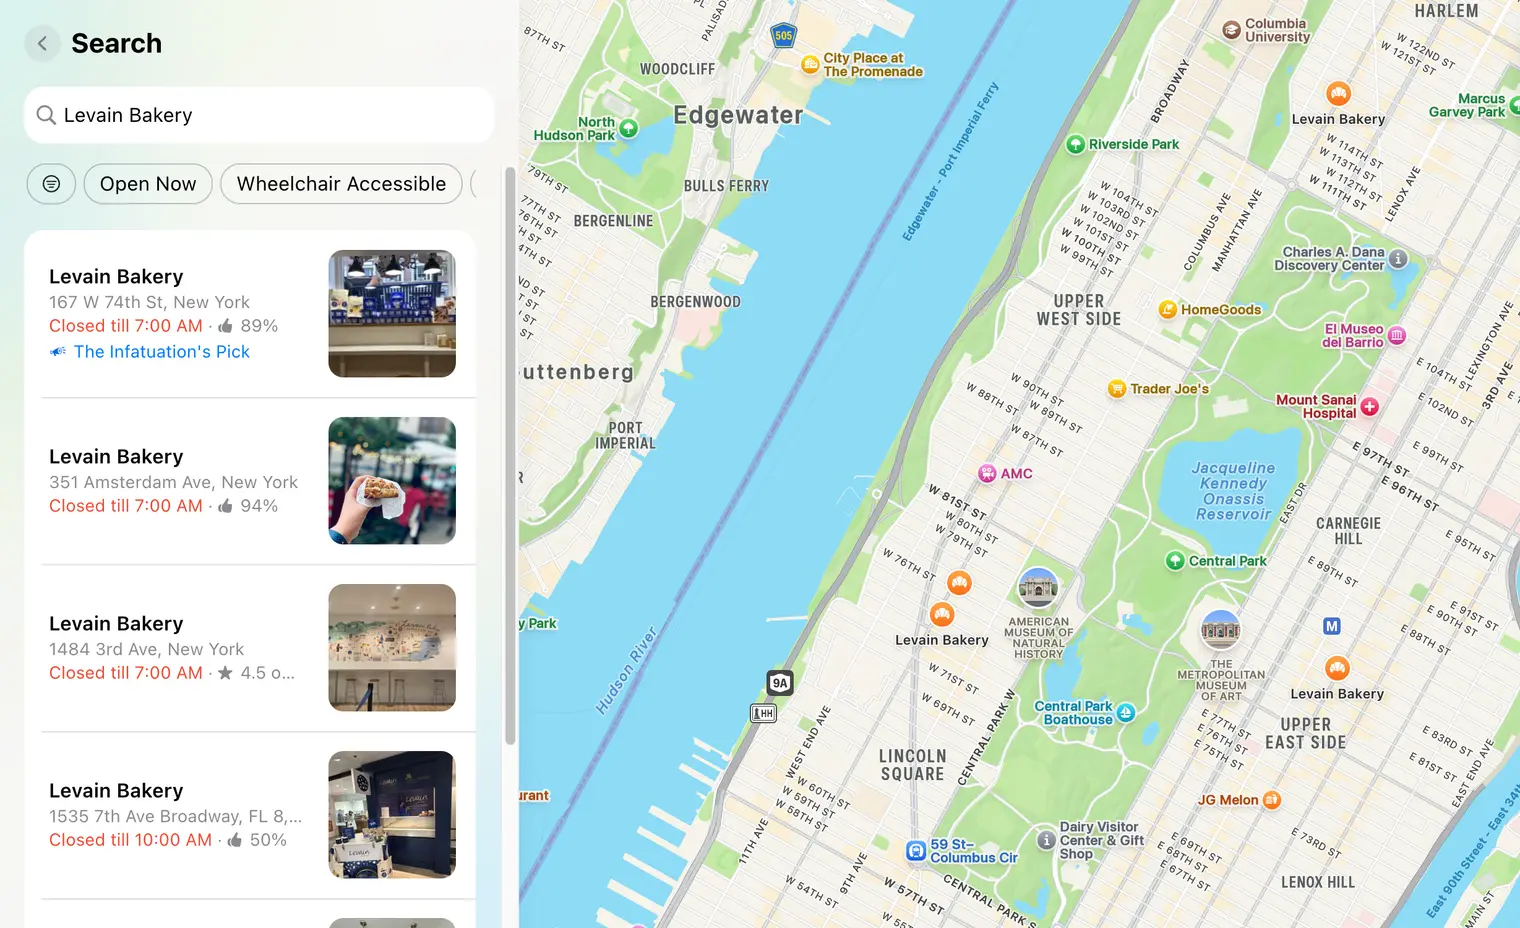
Search the name and town in Maps. Compare the address, nearby landmarks, and any existing photos.
Do not stop at a matching name. A chain may have several similar results, and an old address may still appear after a move.
If the correct place exists, select that result in the location workflow. If two records appear to represent the same shop, investigate them before adding a third.
2. Open the location workflow
Follow Apple’s current single-location instructions. In the browser portal, open Brands → Locations, then Add Location → Add single location.
Search for the location. Select the existing result when it is the correct place, or use the new-location option when no correct match exists.
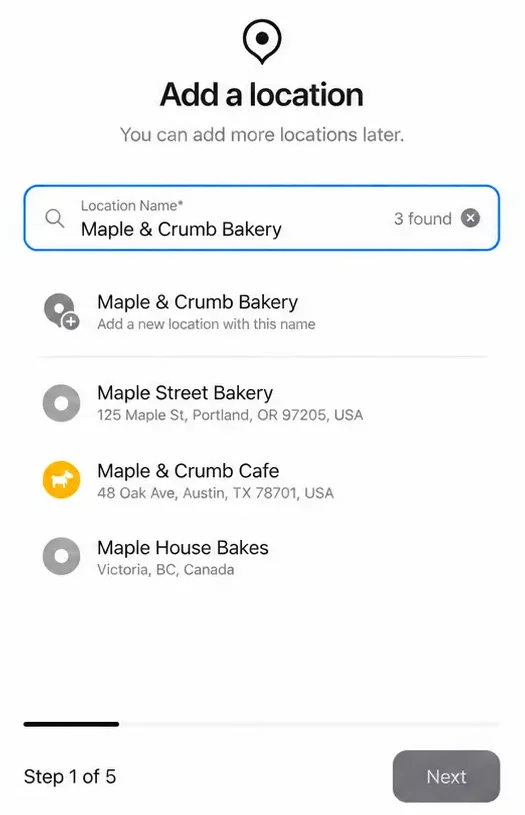
Continue through the details shown, including the location, category, phone, hours, and brand. Check the map placement before proceeding.
If you cannot see these options, check that your account has permission to manage locations for the correct organization.
3. Check your details before submitting
Read the information from the customer’s point of view:
- Does the display name identify the real business?
- Is the address complete, including a necessary unit or floor?
- Does the category describe what happens at this branch?
- Does the phone reach the right business?
- Are the opening hours the hours customers can use?
- Does the website lead to useful branch information?
For example, a store inside a shopping centre may need both the unit number and a useful building photo. A nearby street address alone may not help a visitor identify the shop.
Apple’s map-placement instructions differ from simply dropping every pin on a doorway. Use the building and coordinate guidance shown for the location, then check how the public card and directions represent it.
4. Follow the verification requirements
Use the methods and next steps offered for the organization or existing place. Do not assume that a Google verification method also applies to Apple.
Apple’s organization verification instructions describe the current requirements, including two verification methods and the review process. The choices can include business identifiers, domain validation, or supporting documents.
Have the appropriate person handle a method that needs business records or website access. Keep the account email available so requests for more information reach someone who can respond.
If an existing location offers phone verification, use the number Apple presents. If that number is not recognised or accessible, use support rather than entering an unrelated number to bypass the check.
Can mobile or service-area businesses follow the same steps?
Do not assume Apple’s rules match Google’s service-area profiles.
Apple distinguishes brand features for businesses without storefronts from physical location place cards. Being able to register an organization does not mean you should publish a home office as a customer-facing shop.
For example, a mobile repair business should not invent a public storefront at an address where customers cannot receive the described service. Check Apple’s current location requirements or contact support for a setup that does not clearly fit.
What if the place is managed by someone else?
A management notice is an ownership or access issue, not a reason to create another place.
Record the listing details and work through the claim and transfer guide. If a former agency or employee is involved, first check whether your business already has access through another authorized account.
What should you do after the location is ready?
Check the public place card against the information you submitted. Add useful photos and test the website and contact options.
Make sure hours and arrival information remain correct after review. Use the Apple Maps update guide whenever the business changes.
If you also need a Google listing, use the separate Google setup guide. The platforms need their own checks even when the underlying business details are the same.
For the broader picture, return to the Apple Business Connect overview.